View
The View Toolbar allows users to control the current view shown in the map.
These tools also allow users to move around the map and obtain greater visual detail on objects by controlling the zoom level.

|
|
The Home tool is used to zoom the map to its default view. System administrators will set this view. |
|
|
The Pan tool allows users to move the map by dragging it.
|
|
|
The Zoom In tool allows users to enable a single click to zoom in by a factor of two, or draw a rectangle so that the zoom area can be defined.
Or
|
|
|
The Zoom Out tool allows users to use a single click to zoom out by a factor of two.
Or
|
|
|
Click on the Back tool to go back to the previous view. Only the Map View will change, selections will remain active. |
|
|
The Forward tool will be disabled unless users have used the Back button. It will move the Map View to the view before the Back button was used. |
Views |
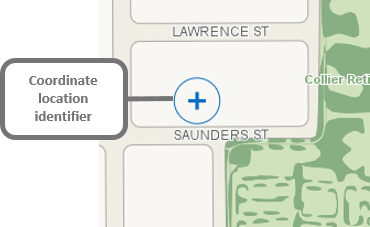
The values in the View panel show users their current zoom, scale and central map coordinates. This is dynamic and changes based on the current map view, meaning as users zoom in/out, the zoom and scale values change accordingly. Similarly, as users pan the map in any direction, the central map coordinates are also updated. The View options can also be used as a 'Go to' function. If users have a desired zoom or scale value that they wish the map to display at, type the values in the relevant sections, click the 'Go' button and the map will display at the desired view. Similarly if users have a known XY coordinate location that they would like the map to zoom to, enter in the X & Y coordinates and press 'Go'. The location will be displayed on the Map window. The map will not zoom in to the XY coordinates and the coordinate must match the selected Coordinate System.
|
Coordinate System |
Users can change the coordinate system of IntraMaps from within this panel. There will be a default coordinate system set by a system administrator which will be highlighted grey. If users have values that they would like to enter in the Views panel that are using a different projection, for example, Latitude and Longitude, the coordinate system must be set first, before users enter the values. |
Stored Views |
Stored views can be set so users can quickly zoom to a predefined area. They can be set by a system administrator for all users, or individual users can set their own. These can be used in all Modules.
Click the Saved View once to move the current extent to the extents of the Saved View. |