The Annotation toolbar consists of a set of tools for drawing and annotating on the map view.

|

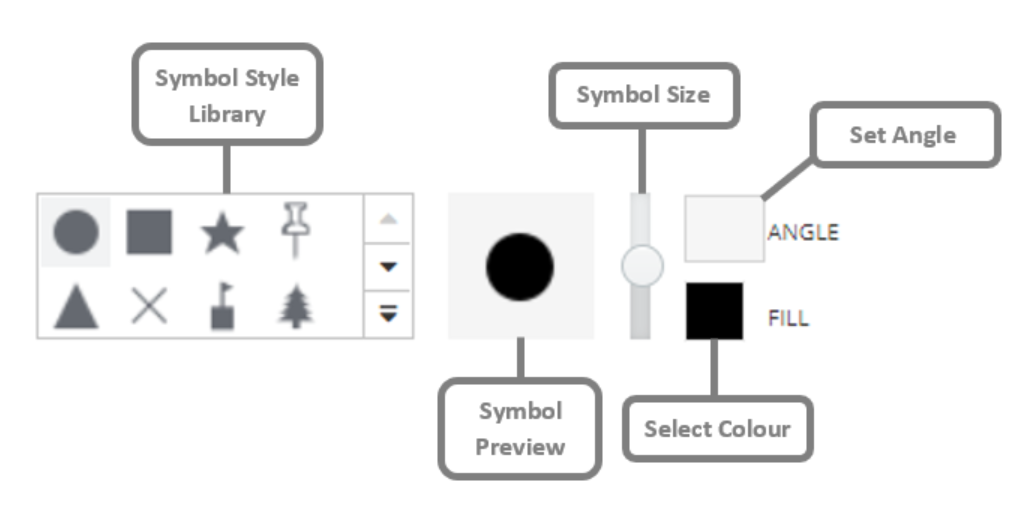
Symbol
|
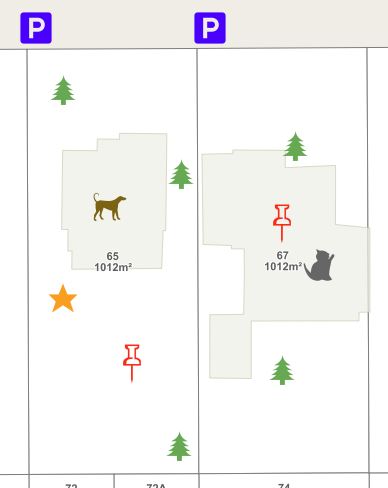
Add symbols or markers on the map.
- Click on the Symbol tool to activate it
- Select on the map and the symbol will be added
|
|
|

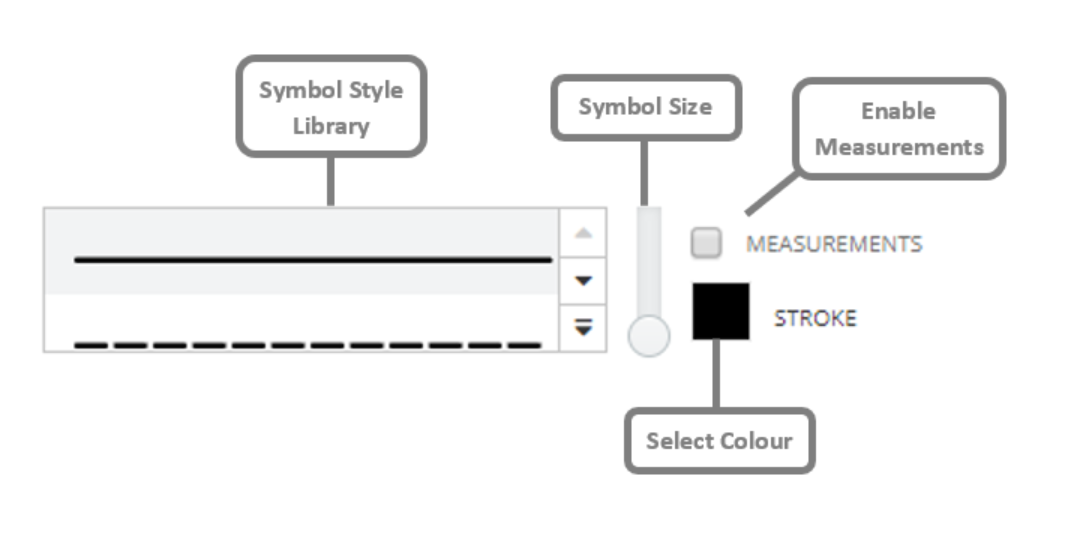
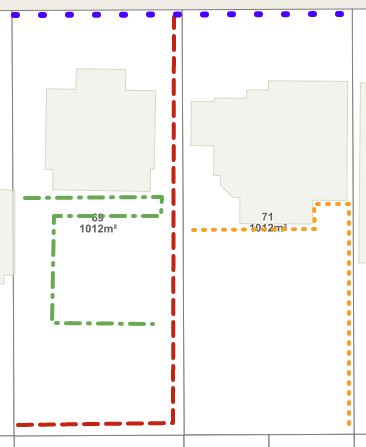
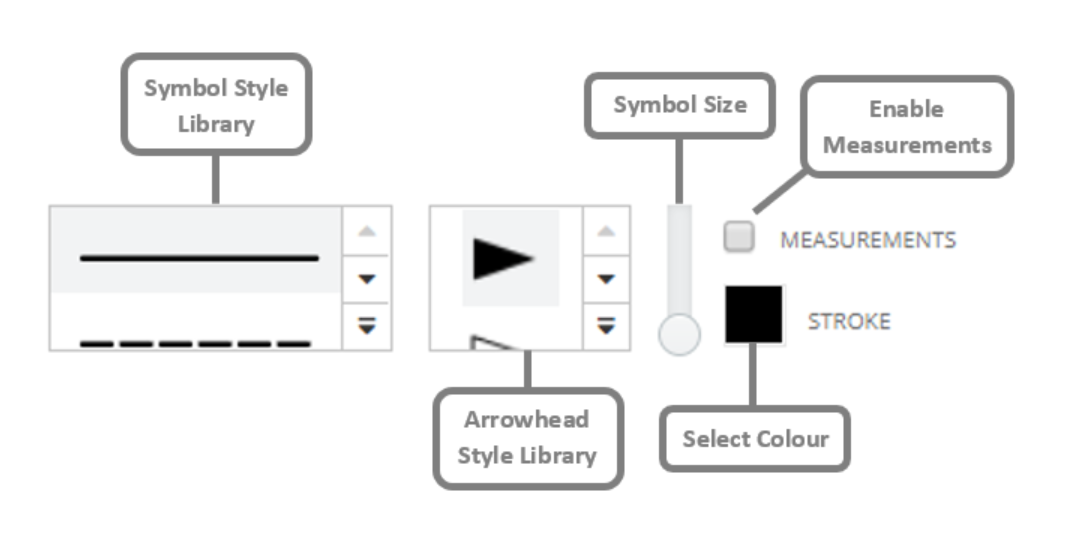
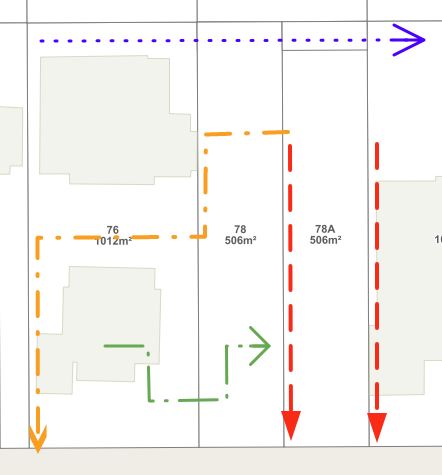
Line
|
Add lines to the map.
- Click on the Line tool to activate it
- Click once on the map to begin drawing the line
- Click as many times as is required
- Double click to complete the line
|
|
|

Arrow
|
Add arrows to the map.
- Click on the Arrow tool to activate it
- Click once on the map to begin drawing the arrow
- Click as many times as required
- Double click to complete the arrow
|
|
|

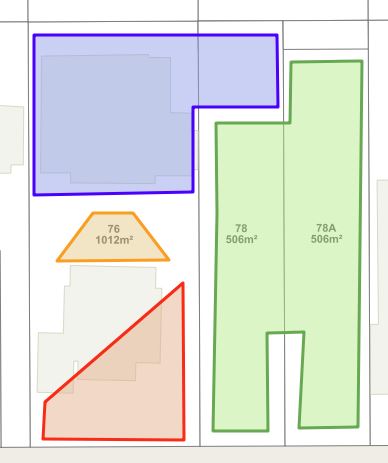
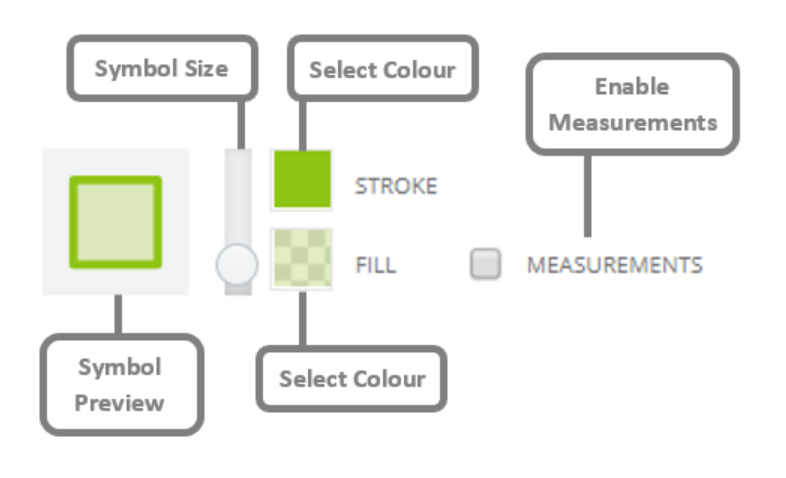
Polygon
|
Add a polygon to the map.
- Click on the Polygon tool to activate it
- Users can set the transparency in Fill
- Click once on the map to begin drawing the polygon
- Click as many times as is required
- Double click the complete the polygon
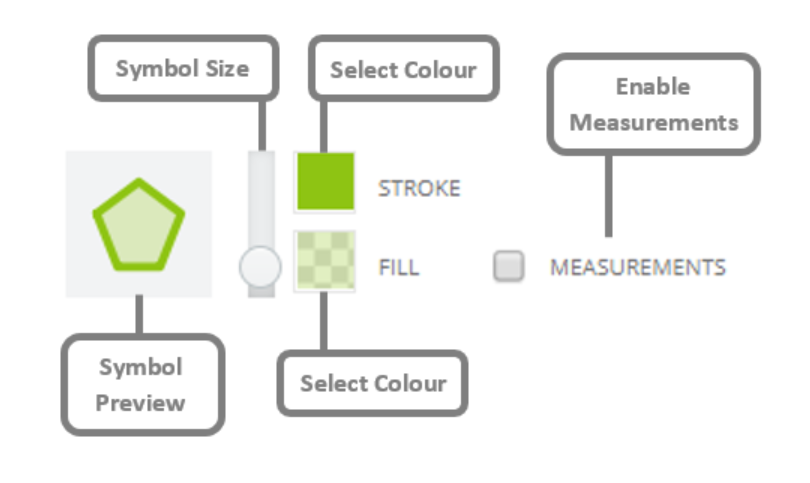
Note: As mentioned in Polygon Selection, when creating polygons, the last line segment is automatically created, meaning users don't need to finish on the point they started on.
|
|
|

Rectangle
|
Add a rectangle to the map.
- Click on the Rectangle tool to activate it
- Users can set the transparency in Fill
- Click and drag to draw a rectangle
|

|
|

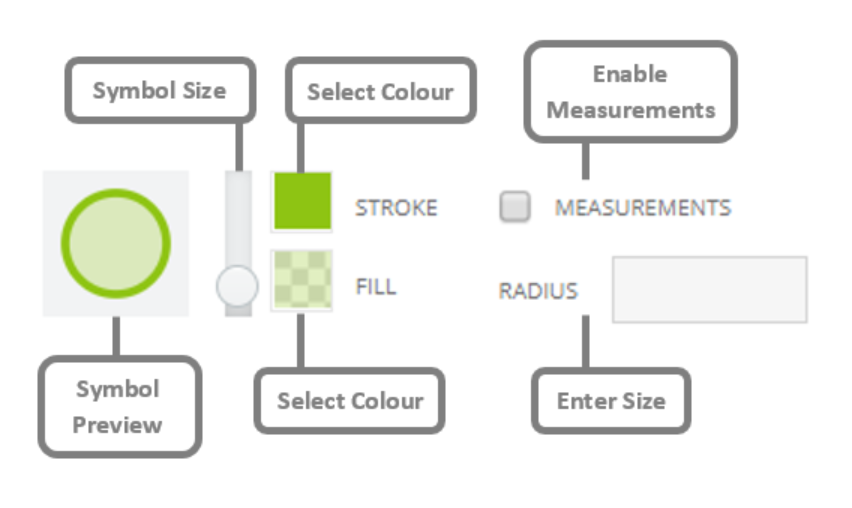
Circle
|
Add a circle to the map.
- Click on the Circle tool to activate it
- Users can set the transparency in Fill
- Click and drag to draw a circle
Or
- Enter a size for the circle
- Click once on the map and the circle will be added
|
|
|

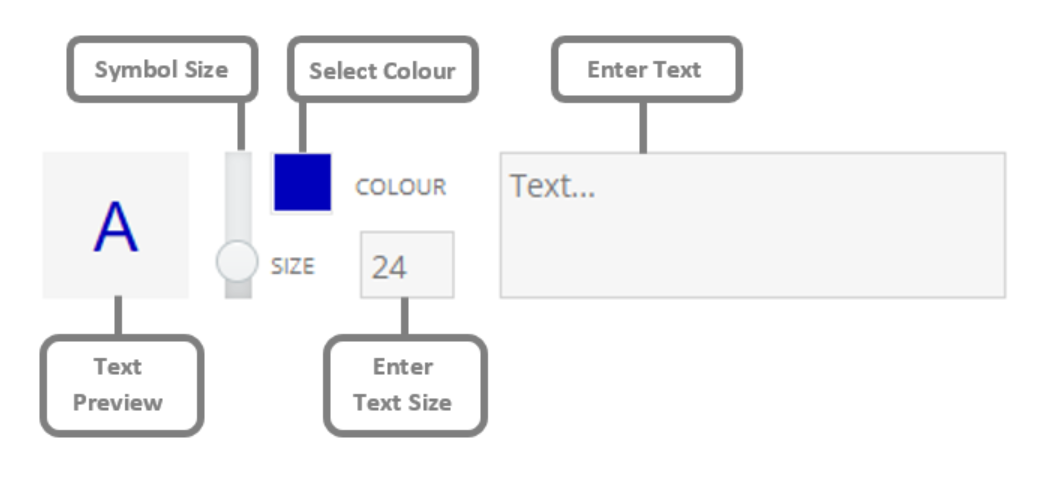
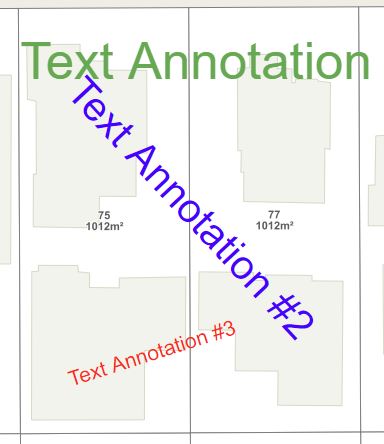
Text
|
Add text on the map.
- Click on the Text tool to activate it
- Enter the text in the box and change the size and colour
- Click on the map and the text will be added
|
|
|
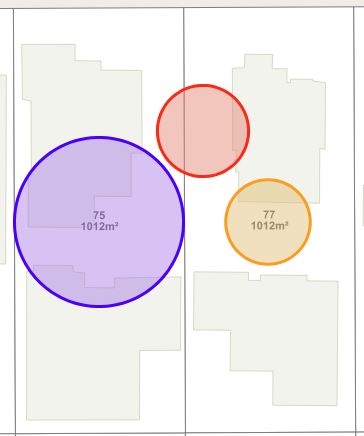
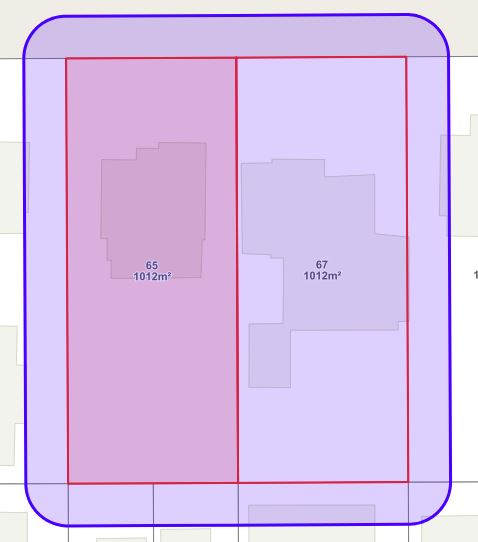
Buffer Selection
|
Create a buffer around a selected feature.
- Using a Select tool, select a feature on the map
- Switch to the Buffer Selection Tool in the Annotation toolbar
- Enter the size for the buffer in metres
- Click the Buffer tool
- A buffer will be drawn on the map
|
|
|

Edit
|
Make changes to an Annotation.
- Click on the Edit tool to activate it
- Select the Annotation feature edit
- Depending on the type of annotation, users may be able to move or rotate it as well as change its colour, text or transparency
|
|

Delete
|
Delete an Annotation.
- Click on the Delete tool to activate it
- Select the Annotation feature to delete
- The feature will be deleted. Remember, users cannot undo deleting an Annotation feature
|
|

Load Annotation Set
|
Load a saved Annotation set.
- Click on the Load Annotation Set tool to activate it
- Choose the desired Annotation set to place on the map
The sets in this list are specific to a user, meaning no one else can see that saved Annotation.
Click Clear Annotation Set to disable the loaded annotation
|
|

Save Annotation Set
|
Save an annotation, or group of annotations, for later use.
- Draw an Annotation on the map
- Click on the Save Annotation tool
- Give the Annotation set a name (required) and some notes (optional)
- Click Save
|
|

Clear Annotation Set
|
Delete all annotations on the map.
- Click the Clear Annotation Set tool to delete all the annotations from the map.
Remember, users cannot undo this if an annotation hasn't been saved.
|